Monday, April 29, 2013

DIY Spring Window Display


Without fail, every time I visit Freedom Clothing Collective I get lost in the aisles because there is always something new that draws the eye or something that was already there that I did not spot in my previous visit. The colours and shapes of all the different products constantly tease and draw you to them so unless you have the entire day to explore, you will never see everything in one visit or be able to give each item the attention it deserves.

This attraction does not start when you enter the door. It starts outside from the sidewalk as you walk or from the street as you drive by. The Freedom window is the store’s true showcase as it constantly changes to reflect the new season or the arrival of new local creations. Carefully curated, it gives you a glimpse of the treasures inside. Right now, the window is brightening the spirits of Bloorcourt pedestrians by reminding them of the arrival of spring and the new creations the season brings. 


The window was not created by professional window decorators with an unlimited budget, but by the hard work and ingenuity of Freedom and its friends – including myself, a non-crafter aspiring to the level of ‘competent.’
What is the best way to recover from a week-long trip and get over those post-vacation blues?
Karen somehow convinced me that crafting was the only solution and in a whirlwind she and Jules’ were over with their bags of supplies and equipment to create Freedom’s new window. 


snacks and hydration are very important, this craft session took 5+ hours!
My initial plan to volunteer as the event caterer and drink supplier was quickly rebuffed as a pair of scissors was thrown into my hands and a massive pile of decorative paper was put in front of me with (kind) orders to cut as many leaves as possible and don’t stop. 
Lots of up-cycled paper and lots and lots of cutting
So that is what I did for five hours without complaint and, surprisingly, it did prove to be a relaxing and meditative way to spend the day and evening. The snacks, wine and Jules’ amazing kale chips also played a part. 
it started with a Pinterest Board >> FCC WINDOWS
Inspired by a Pinterest posting, the idea was to create a decorative branch and leaves that could adorn the front of the window. By chance, we had an unused artificial decorative branch, which was claimed from the closet to be transformed into the beautiful plant that can be seen now at Freedom. 
loving the contract against the dark floors
While my cut leaves were extremely important, the true credit has to go to Karen and Jules for the ideas and artistry and Jules' extreme dedication in somehow tediously connecting the leaves and wrapping up the branch in decorative yarn. The idea to use upcycled paper was genius and added variety, contrast and colour to the already beautiful shapes.

Finished branch with garland decorating and art piece wonderfully

The final product looks real, but like it comes from an alternate world awash in colour where leaves aren’t similar and just shades of green, but more like snowflakes and a mixture of every colour with no two exactly alike.
It is amazing what a little creative inspiration and some dedicated hard labour can produce when inspired by wine and kale chips (see recipe > KALE!! )

Friday, April 26, 2013

More amazing items donated for the fundraiser...


Perfect for SPRING! We have 2 in the fundraiser by Koocoo Carrillo in a Small and Medium !!!


Super soft Noujica scarf in calming blue...
and Branch necklace in sterling silver with peridot and freshwater pearls by Kathryn Rebecca


Deer pouch! By HANA

Things are moving fast so come on by anytime to check it out! And remember.... everything will be an additional 10% off the already discounted price as well as we will be doing 15 % off for customer appreciation on Thursday May 2nd 6:00-8:30. We're looking forward to a fun night!

Wednesday, April 10, 2013

Workshop: Torched Studio

Last week Karen, Emma and I visited Torched Studio, a locally based jewelry studio run and managed by our friend and fellow designer Yvonne Villeneuve. Yvonne is the creative force behind the beautifully crafted and brightly coloured enameled jewelry you can find in our shop. Beside creating beautifully crafted accessories and home decor herself, Yvonne also teaches enameling classes and offers you the benefit of creating your own piece of enameled treasure in just one afternoon. We had so much fun with the process and encourage you to try out the same. You won't be sorry you did.

So much fun to look at Yvonne's stash of jewelry beauties
appropriate reading materials
Emma and Jelena hard at work
Drilling some finding holes for future chain or string
do not use the lifting-spatula-tridenty-thing as a sword... not safe!
Out of the kiln, into the water, into the pickle, wipe with some baking soda and clean and shiny pieces you have!
Like baking you sift the fine glass particles onto your base
last firing (of many!) and then some filing to make all the edges smooooth. 
Fronts
back sides are equally pretty!

finished piece with braided hemp string 'chain' and detailing
We took the beginner course but there are several for you to choose from including one where you work with precious metal clay! What!?
Here are the details and listing of classes:

http://torchedstudio.wordpress.com/classes/

Not only is Yvonne a talented artist, she's stellar at her social media, check her out at any of the following:

www.torchedstudio.com
www.torchedstudio.wordpress.com
www.facebook.com/TorchedStudio
www.torchedstudio.etsy.com

Wednesday, April 3, 2013

Plate Wall Inspiration


I (Jelena) live in a semi open concept house in which living and dining room occupy one big space. From that space, on the dining room side, there are stairs leading to upstairs bedrooms, and below those stairs is the wall that I find quite challenging when it comes to accessorizing.
1. it is triangular in shape and does not leave many options or much room to hang art
2. the switch plate is placed quite awkwardly and I don't have much drive to initiate a project in which it would be moved. This switch has the built in dimmer for the dining room lights and allows us to control the lights upstairs, so it is quite useful and can not be covered.

Awkward wall with my messy sideboard top. It is not always like that, but on this particular morning I had not time to move things around

With hese two contingencies the end result will somehow have to balance the sharp geometrical feature of the wall as well as allow easy navigation around the switch plate. I think that decorating with china and creating a plate wall would solve that problem ( round and oval plates  would soften the triangle, not to mention that the wall is in the dining room so it is all fitting).
For inspiration I decided to check out what Pinterest had to offer  and here are the few looks that I found 
fun and appropriate...


I somehow have to get my hands on that fun Marimekko cow plate


Situation similar to mine with the exception of the curved wall


I will have a bit of time in the next few days which will hopefully allow me to dedicate some more time to finally tackle this problem. If all goes well I am hoping to be able to reveal the end result early next week.

Monday, March 25, 2013

Women's Post- Women of the Week


Karen and I have been selected to be represented in the Women's Post "Women of the Week" feature for the week of March 25th. We are really thrilled and excited.
To find out more, click here.

Monday, March 18, 2013

Home Made Beeswax Furniture Polish


For the past couple of years, or ever since I started painting furniture as a career, I have been using Minwax furniture finishing wax to seal painted surfaces. It has worked well and it never failed providing a smooth and shiny finish. However, I have been doing some research and decided to try and make a home made finishing wax using beeswax as a main ingredient. I wanted to find a recipe that doesn't call for many ingredients and that is as environmentally friendly as possible. And I found one, it calls for natural beeswax and another solvent.
We have recently come across a Toronto based beeswax candle producer on Etsy (Gammy's Beeswax Candles) and have decided to sell some through our store as well. In one of our email exchanges I we learned that they also sell raw beeswax and I decided to get a block for the purpose of making my own furniture polish. What worked well is that their studio is very close to where I live so I can swing by and pick up the order myself.
So here is how the process went:
The beeswax came in a 1/2 lb block. In order to be able to melt it easily, I grated the block and mixed the shavings with the non-toxic natural oil made for treatment of butcher's blocks, wooden salad bowls, cutting boards etc. The ratio I used is 1:4 in favour of the oil. I could also have used olive oil, but was afraid that it may turn rancid at some point, and that would not be a good thing.

I mixed all the ingredients together and put them in a glass jar that I placed in the steamer  to avoid any water from getting into the mixture.


Once all the wax shavings have melted and the liquid had turned clear yellow colour I took the jar out and let it cool, mixing it occasionally. When it cooled down the mixture acquired consistency of vaseline. If I had used less oil, it would probably have turned out harder which would have been fine too.


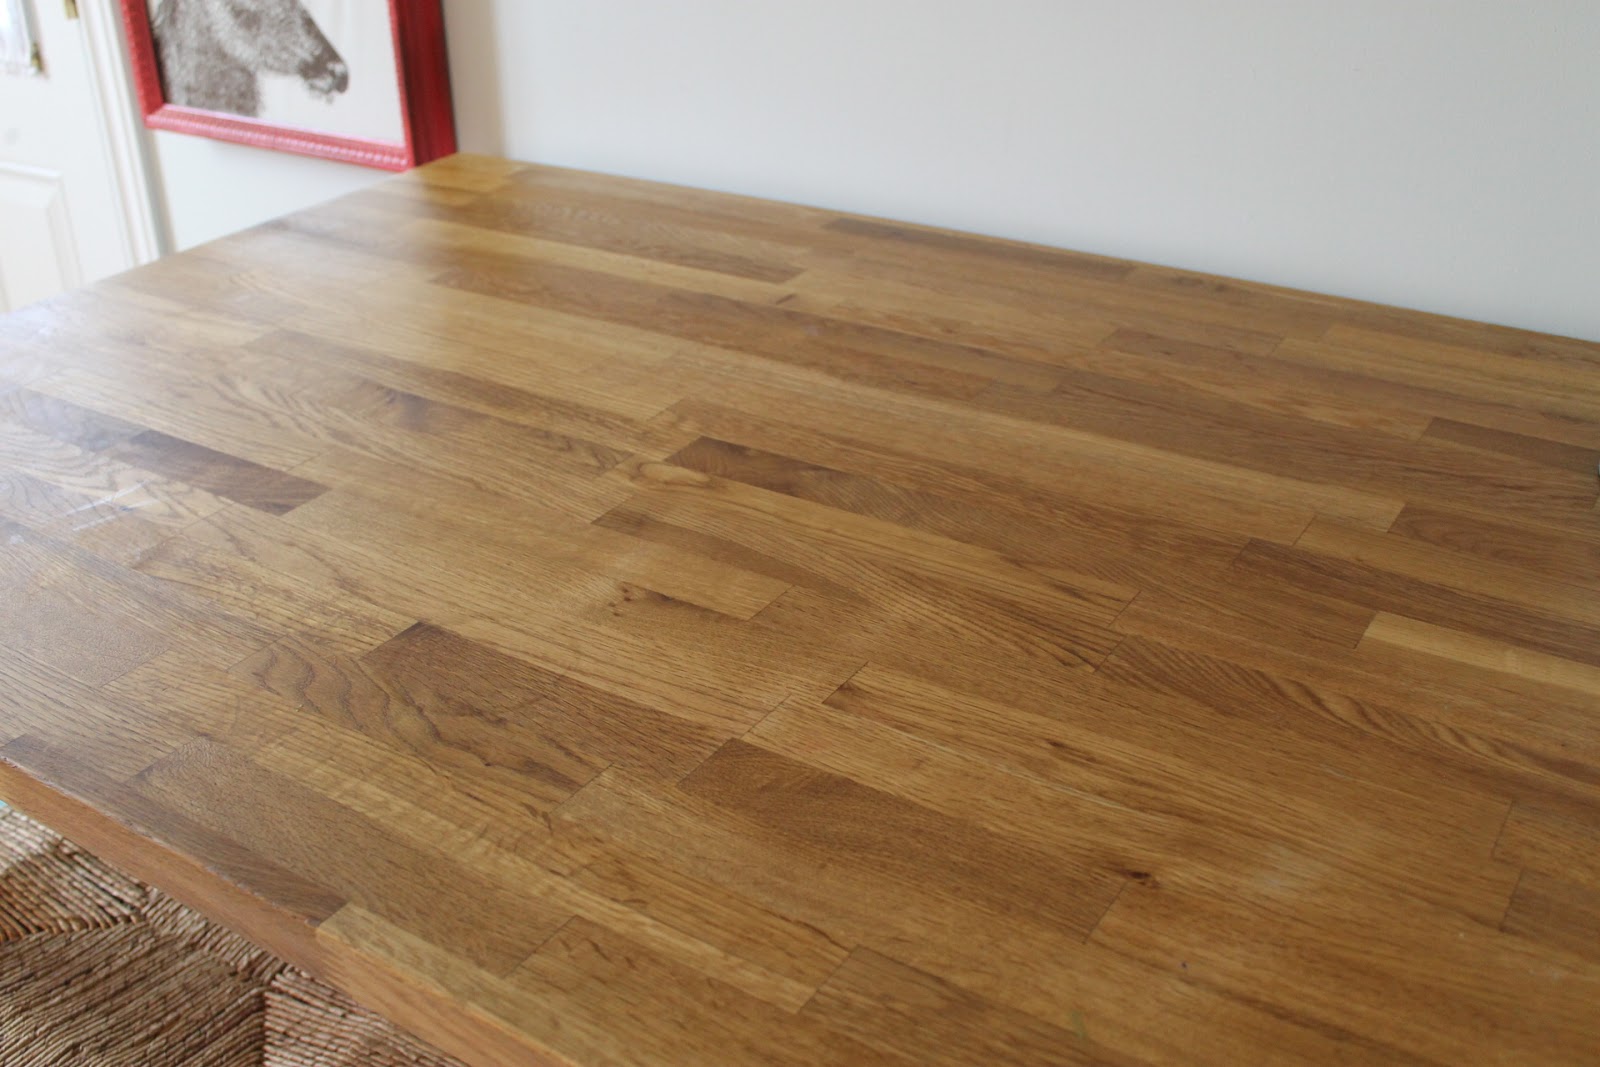
I decided to try it first on  my kitchen table that was definitely in need of some love and tender care.

table top before

 And here is what happened after I had applied the mixture, let it sit for about 10 minutes and buffed out with a soft cotton cloth.

table top after

I was so impressed with the results that I decided to use it on a piece of painted furniture that I had just completed and that is now available for purchase at Freedom.


Wednesday, March 6, 2013

DIY Wall Art - Make your space warm and comfy

There is nothing more intimidating than a big, blank white wall. The limitless opportunity is exciting, but can also be overwhelming. After moving into my current apartment, I was faced with this dilemma. It is beautiful with wall to wall windows, except for one big empty white wall running along one side. For months, it stayed blank, in stark contrast to the quickly filled up and comfortable rest of the apartment.

the hideous "empty wall" we are trying to make more inviting


Then the wall was seen by Karen and things changed quickly. After her initial horror at the unused space, she quickly sprang into action with ideas. Obviously, art was a perfect choice. Why not make our own? That is how I found myself at Toronto’s High Park on a beautiful summer Sunday. We started with a blank canvas and went from there. Since I am not an artist like Karen, I didn't want her to do all the work so we tried to come up with an idea that we could both work on. We were thinking maybe something abstract. The summer day inspired an idea so we grabbed the canvas and pencils and headed to the park where we were inspired by the sun and the lovely shadows it was creating under the many trees.
using pencil crayons in High Park trying to quickly capture the ephemeral tree shadows 
Walking around with a large blank canvas was starting to attract some attention from the families and bicyclists enjoying the park, so we quickly found the perfect corner where enough shadows cascaded onto the floor to create an interesting pattern. Not wanting to lose the moment, we laid the canvas down and I received my marching orders to start ‘outlining’ the shadows on my side of the canvas with pencil. Not completely knowing what I was doing, I was a little anxious and set about tracing shapes as quick as possible while Karen’s expert hands and artistic touch worked comfortably.

Then, adding to my anxiety, seemingly out of the blue two children appeared and started silently watching us work. Their dad appeared and, also interested in our guerilla art project, he asked what our inspiration was. Worried about ensuring I captured the shadows and without a ready-made answer, I simply said to “fill a wall.”

*note* when using light coloured paints like whites, pastels or yellows, make sure to make pencil marks with equally light colours otherwise you will need several coats of paint to cover up graphite or dark pencil caryon marks.
filling in the pencil crayon lines with brilliant bright yellow, the fair trade dark chocolate helps keep the lines straight.
Back home, we surveyed our work and decided there was some potential so we set about filling in the shadows with some yellow paint since we were inspired by the sun. Over time, an interesting abstract pattern began to emerge on the wood grain. At times, it looked like a map and at other times we started noticing animals in the shapes. Maybe we were painting for too long! We definitely agreed that it was going to look fantastic up on the wall.

collaging and decoupaging the edges of the panel


There seemed, however, to be something missing. The blank outer edges of a canvas are always a challenge. Should we paint them all yellow? Keep them as they were? Then we got our second inspiration.

I knew I wanted to add a book case to the wall so we initially thought about adding old newspapers or maps on the side. Then, I remembered a memento of my father’s that I had kept for years. My father learned to speak English in the 1970s in Europe. He had these red hard cover British textbooks that inside had the most interesting black and white photos and text. Instead of gathering dust, we decided that the text and pictures from these books would look amazing on the sides, top and bottom of the new painting.
y - voilĂ 
Suddenly, we had a finished original piece of art. It seemed too easy yet there it was. It just goes to show that sometimes creativity and taking that little extra step can go a long way. The painting now looks great on my wall next to my new bookcase and a whole lot of plants (another Karen inspiration). The wall is both beautiful, but also warm and inviting.
all the way from Argentina an up-cycled cookie tin becomes a statement piece plant holder
texture love!

further up-cycled pieces include this wonderful Freedom Reconstructed Chalkboard for a perfect entrance greeting.
up-cycled frames and the left over book pages make these two art pieces pop!