Monday, March 25, 2013
Women's Post- Women of the Week
Karen and I have been selected to be represented in the Women's Post "Women of the Week" feature for the week of March 25th. We are really thrilled and excited.
To find out more, click here.
Monday, March 18, 2013
Home Made Beeswax Furniture Polish
For the past couple of years, or ever since I started painting furniture as a career, I have been using Minwax furniture finishing wax to seal painted surfaces. It has worked well and it never failed providing a smooth and shiny finish. However, I have been doing some research and decided to try and make a home made finishing wax using beeswax as a main ingredient. I wanted to find a recipe that doesn't call for many ingredients and that is as environmentally friendly as possible. And I found one, it calls for natural beeswax and another solvent.
We have recently come across a Toronto based beeswax candle producer on Etsy (Gammy's Beeswax Candles) and have decided to sell some through our store as well. In one of our email exchanges I we learned that they also sell raw beeswax and I decided to get a block for the purpose of making my own furniture polish. What worked well is that their studio is very close to where I live so I can swing by and pick up the order myself.
So here is how the process went:
The beeswax came in a 1/2 lb block. In order to be able to melt it easily, I grated the block and mixed the shavings with the non-toxic natural oil made for treatment of butcher's blocks, wooden salad bowls, cutting boards etc. The ratio I used is 1:4 in favour of the oil. I could also have used olive oil, but was afraid that it may turn rancid at some point, and that would not be a good thing.

I mixed all the ingredients together and put them in a glass jar that I placed in the steamer to avoid any water from getting into the mixture.

Once all the wax shavings have melted and the liquid had turned clear yellow colour I took the jar out and let it cool, mixing it occasionally. When it cooled down the mixture acquired consistency of vaseline. If I had used less oil, it would probably have turned out harder which would have been fine too.

I decided to try it first on my kitchen table that was definitely in need of some love and tender care.
 |
| table top before |
And here is what happened after I had applied the mixture, let it sit for about 10 minutes and buffed out with a soft cotton cloth.
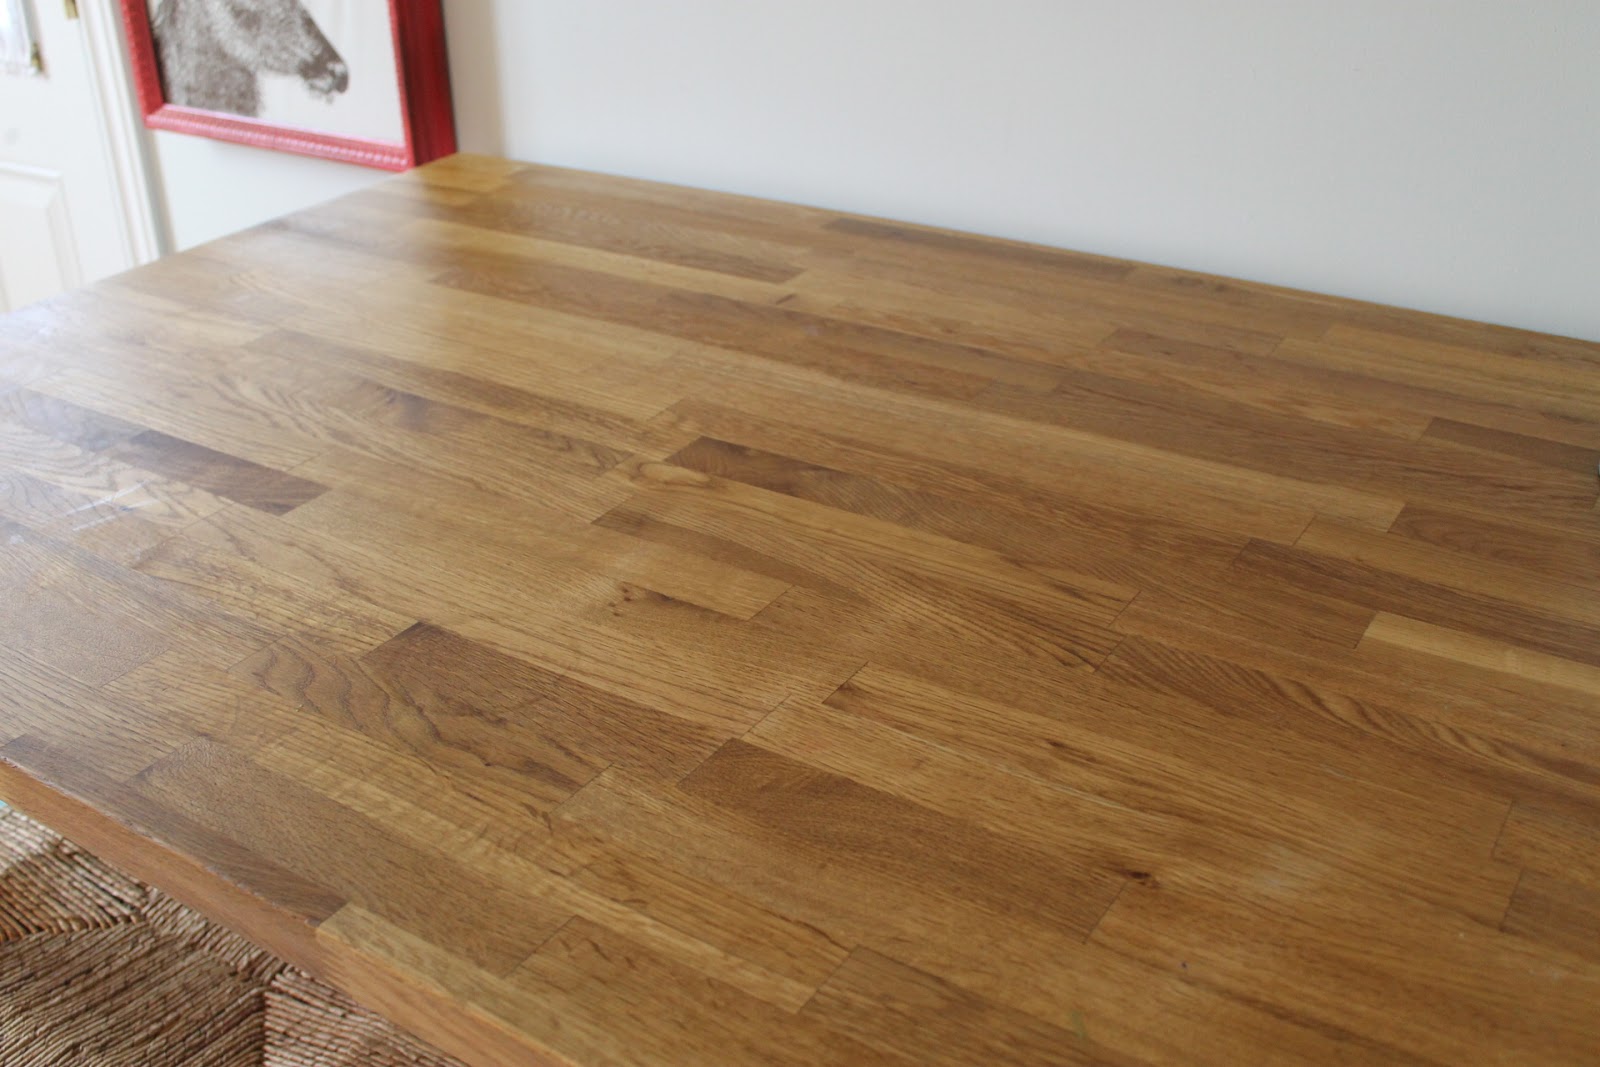 |
| table top after |
I was so impressed with the results that I decided to use it on a piece of painted furniture that I had just completed and that is now available for purchase at Freedom.

Wednesday, March 6, 2013
DIY Wall Art - Make your space warm and comfy

 |
| the hideous "empty wall" we are trying to make more inviting |
Then the wall was seen by Karen and things changed quickly. After her initial horror at the unused space, she quickly sprang into action with ideas. Obviously, art was a perfect choice. Why not make our own? That is how I found myself at Toronto’s High Park on a beautiful summer Sunday. We started with a blank canvas and went from there. Since I am not an artist like Karen, I didn't want her to do all the work so we tried to come up with an idea that we could both work on. We were thinking maybe something abstract. The summer day inspired an idea so we grabbed the canvas and pencils and headed to the park where we were inspired by the sun and the lovely shadows it was creating under the many trees.
 |
| using pencil crayons in High Park trying to quickly capture the ephemeral tree shadows |
Then, adding to my anxiety, seemingly out of the blue two children appeared and started silently watching us work. Their dad appeared and, also interested in our guerilla art project, he asked what our inspiration was. Worried about ensuring I captured the shadows and without a ready-made answer, I simply said to “fill a wall.”
Back home, we surveyed our work and decided there was some potential so we set about filling in the shadows with some yellow paint since we were inspired by the sun. Over time, an interesting abstract pattern began to emerge on the wood grain. At times, it looked like a map and at other times we started noticing animals in the shapes. Maybe we were painting for too long! We definitely agreed that it was going to look fantastic up on the wall.
 | ||
| collaging and decoupaging the edges of the panel |

There seemed, however, to be something missing. The blank outer edges of a canvas are always a challenge. Should we paint them all yellow? Keep them as they were? Then we got our second inspiration.
I knew I wanted to add a book case to the wall so we initially thought about adding old newspapers or maps on the side. Then, I remembered a memento of my father’s that I had kept for years. My father learned to speak English in the 1970s in Europe. He had these red hard cover British textbooks that inside had the most interesting black and white photos and text. Instead of gathering dust, we decided that the text and pictures from these books would look amazing on the sides, top and bottom of the new painting.
 |
| y - voilà |
 |
| all the way from Argentina an up-cycled cookie tin becomes a statement piece plant holder |
 |
| texture love! |
 |
| further up-cycled pieces include this wonderful Freedom Reconstructed Chalkboard for a perfect entrance greeting. |
 |
| up-cycled frames and the left over book pages make these two art pieces pop! |
Sunday, March 3, 2013


Friday, February 22, 2013
Inspiration Found in a Peaceful yet Eerie Cemetary

Our trip to Argentina would not be complete without getting wrapped up in the legend of Eva Peron (Evita), the first female President of Argentina, a woman known as much for her style and grace as her fierce political passions and dedication to social issues. There is no better place to start than her resting place, which we visited on a beautiful Buenos Aires day (extremely sunny and intensely humid).

Accompanied by a message from her followers, Peron’s dates of birth and death rest on a plaque accompanied by a carving of a little girl. This plaque, however, does not rest on a simple grave. It is on a marble wall and, Peron’s resting place is anything but regular. Her plaque and others surround a grand doorway, the gateway to the final quarters of the Familia Duarte. It is a large grand mausoleum, almost as big as a small house, which befits Peron’s place in Argentinian society. You are not surprised that a woman given the title of “Spiritual Leader of the Nation,” would be buried in such a beautiful and inspiring structure.
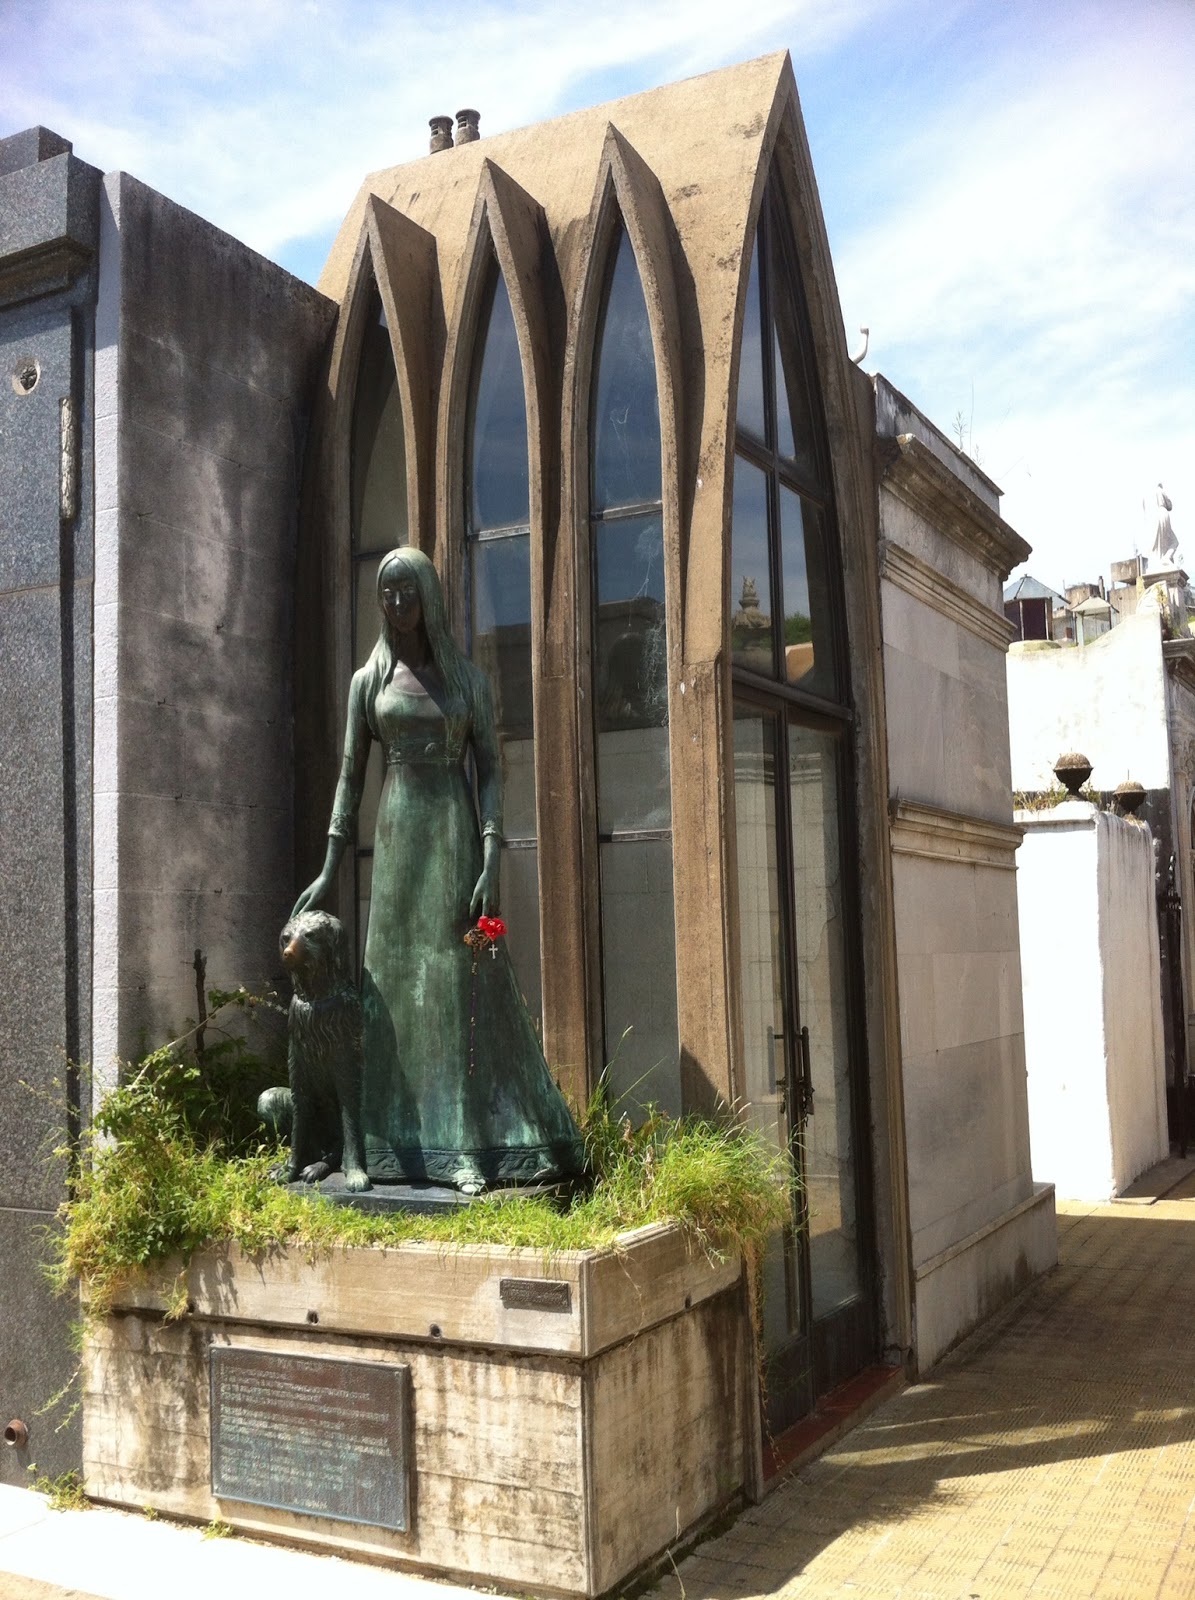
There are others, equally and sometimes even more grand. All lined up next to each other, these large pieces of art made us feel like we were in a small city, with its own orderly streets – but we were in a cemetery. Located in the northern part of Buenos Aires, La Recolata feels more like a peaceful park or outdoor museum than a cemetery which has many famous Argentinian politicians, military generals, scientists and poets as its residents. Opened in 1822, the cemetery is the oldest in the city and is named after the now affluent neighborhood which was founded by an order of monks named the “recoletos.”
 We spent what seemed like the entire afternoon exploring every part of the cemetery. As lovers of beautiful things, we couldn't help but stop at every tomb, examine and be inspired by every intricate detail both outside and in. The mausoleums are works of art and some have been declared historic sites by Argentina. While the layout of the structures is orderly, the style of each building is anything but. Depending on when they were built, we saw mausoleums that were Neo Gothic, Art Noveau and Art Deco. Most of the structures have glass windows on the front, giving you a glimpse of the inside where along with altars or vases of flowers, we sometimes saw beautiful stained glass windows.
Most of the mausoleums are well maintained, but once in a while we would encounter some that were decayed or vandalized Something about these decayed ones gave me the most inspiration- whether it was wondering what fate befell the family that they could no longer take care of the beautiful building or just the simple, elegant beauty of a renegade tree branch or vine creeping its way through the broken stone. Something about witnessing nature trying to creep its way back into this modern man-made concrete jungle gave me a feeling of peace inside, inspired different patterns and colours and made me immediately want to return to my workshop to create. Hopefully we can recreate this inspiration that Recoleta inspires here at home into new creative pieces. One thing this trip has inspired is filling our space with many many more plants!


 |
| cats, they are every where! |
Subscribe to:
Posts (Atom)