For the past couple of years, or ever since I started painting furniture as a career, I have been using Minwax furniture finishing wax to seal painted surfaces. It has worked well and it never failed providing a smooth and shiny finish. However, I have been doing some research and decided to try and make a home made finishing wax using beeswax as a main ingredient. I wanted to find a recipe that doesn't call for many ingredients and that is as environmentally friendly as possible. And I found one, it calls for natural beeswax and another solvent.
We have recently come across a Toronto based beeswax candle producer on Etsy (Gammy's Beeswax Candles) and have decided to sell some through our store as well. In one of our email exchanges I we learned that they also sell raw beeswax and I decided to get a block for the purpose of making my own furniture polish. What worked well is that their studio is very close to where I live so I can swing by and pick up the order myself.
So here is how the process went:
The beeswax came in a 1/2 lb block. In order to be able to melt it easily, I grated the block and mixed the shavings with the non-toxic natural oil made for treatment of butcher's blocks, wooden salad bowls, cutting boards etc. The ratio I used is 1:4 in favour of the oil. I could also have used olive oil, but was afraid that it may turn rancid at some point, and that would not be a good thing.

I mixed all the ingredients together and put them in a glass jar that I placed in the steamer to avoid any water from getting into the mixture.

Once all the wax shavings have melted and the liquid had turned clear yellow colour I took the jar out and let it cool, mixing it occasionally. When it cooled down the mixture acquired consistency of vaseline. If I had used less oil, it would probably have turned out harder which would have been fine too.

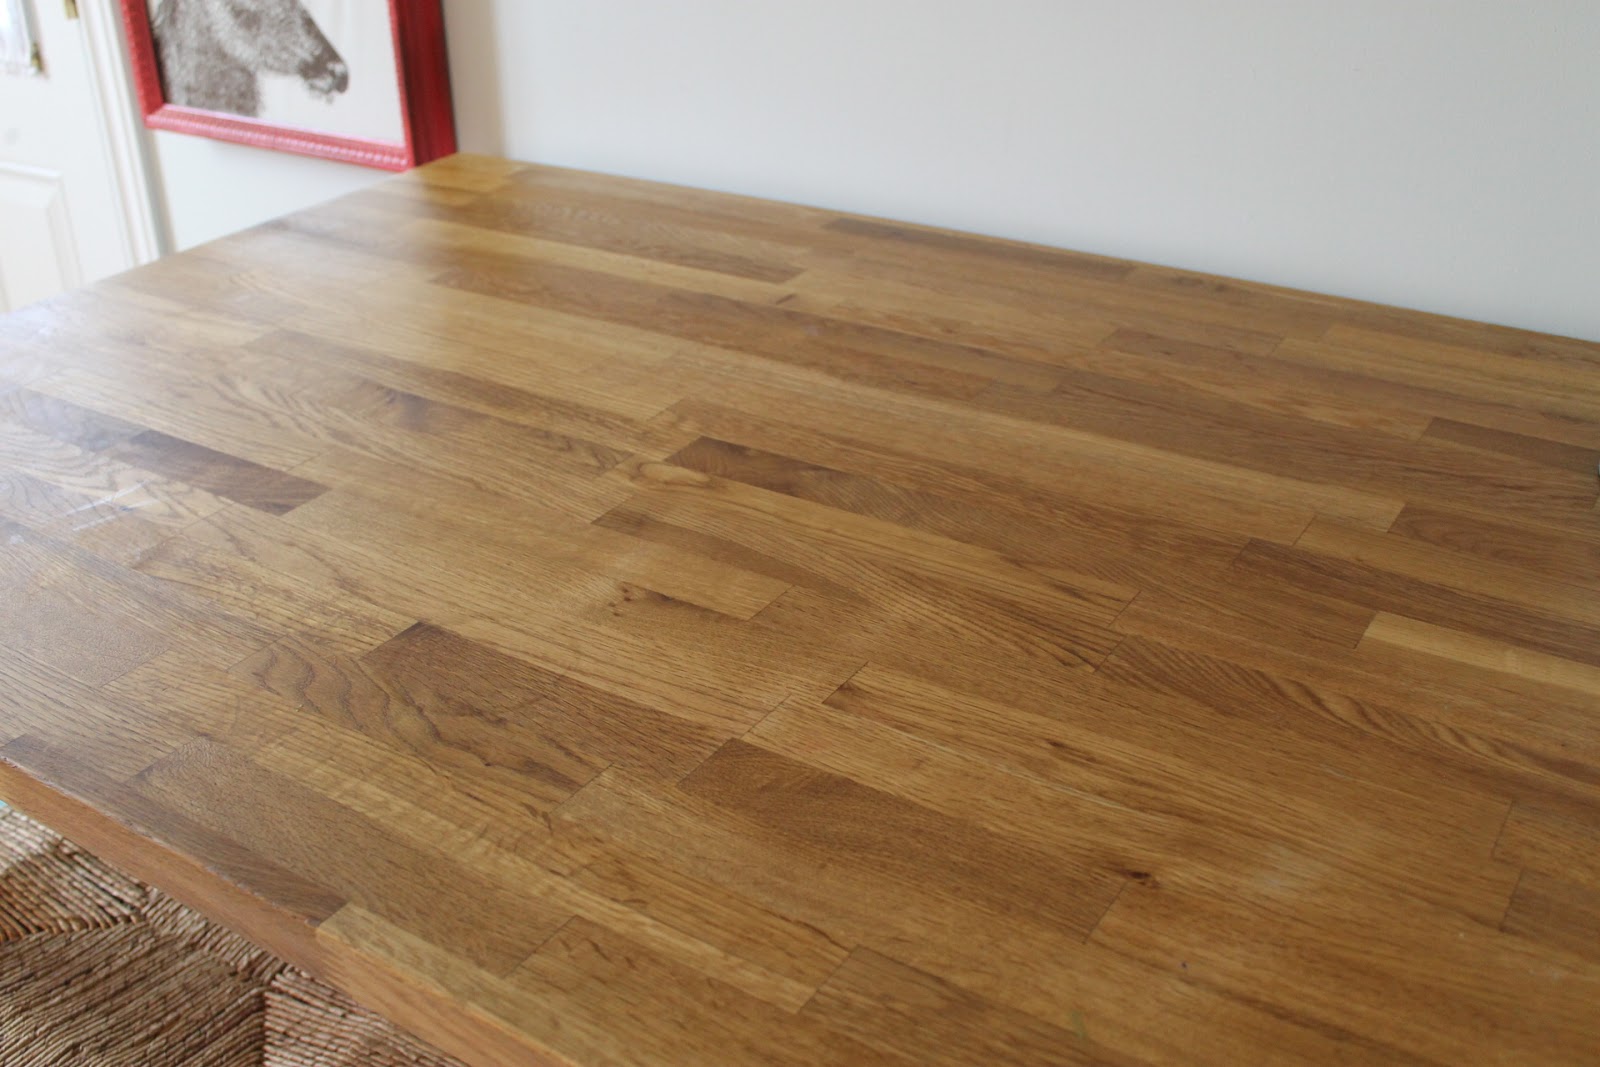
I decided to try it first on my kitchen table that was definitely in need of some love and tender care.
 |
| table top before |
And here is what happened after I had applied the mixture, let it sit for about 10 minutes and buffed out with a soft cotton cloth.
 |
| table top after |
I was so impressed with the results that I decided to use it on a piece of painted furniture that I had just completed and that is now available for purchase at Freedom.
